When you switch on your PC or Mac, do you have to change its time? Highly unlikely! Do you have to on your Raspberry Pi? Possibly.
Each time your Pi boots it connects to what is called an NTP - Network Time Protocol - server and asks it the time. But what happens if your Pi is not connected to the internet? You're out of luck (or is that time?). Your Pi has no way of knowing what time it is.
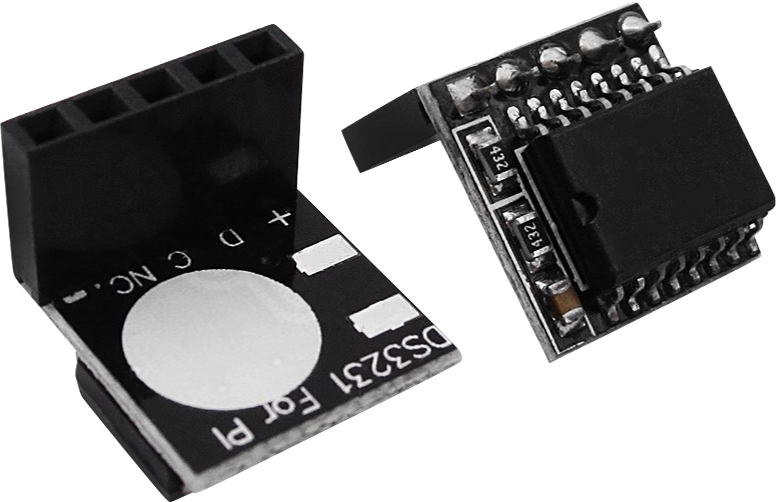
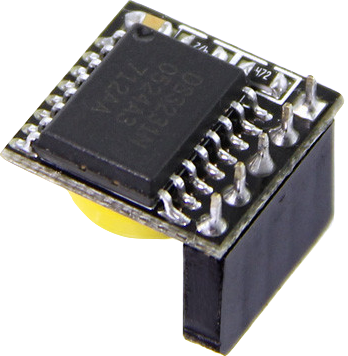
But there is a solution in the form of a 'Real Time Clock' or RTC board. These inexpensive add-on boards plug on top of your Pi's GPIO pins and contains a clock chip and a battery that tell the Pi what time it is. The Pi Hut sells such a board.
Setting up I2C
The RTC board uses what is known as the I2C (pronounced 'eye squared see') protocol to communicate between itself and the Pi. The I2C allows the Pi to communicate with a lot of different devices at the same time that are also connected to the same I2C pins on the Pi.
Simon Monk has written very good instructions about how to set up your Pi to be able to use i2c on the Adafruit site. Follow the full instructions, including checking that everything has worked by going through the manual instructions too.
Plugging in the Board
It is always best to turn your Pi off before plugging anything onto the GPIO pins. Always do this using the sudo haltor sudo shutdown -h now commands.
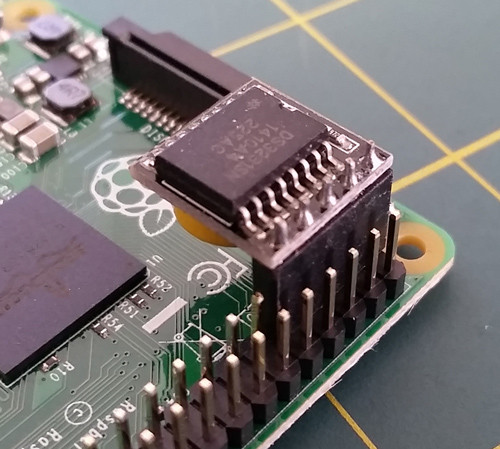
Now plug the board onto your Raspberry Pi GPIO pins on the inside corner with the RTC board pointing inwards, as shown below.
Setting up the RTC
You now need to configure your Pi to recognise and use the board.
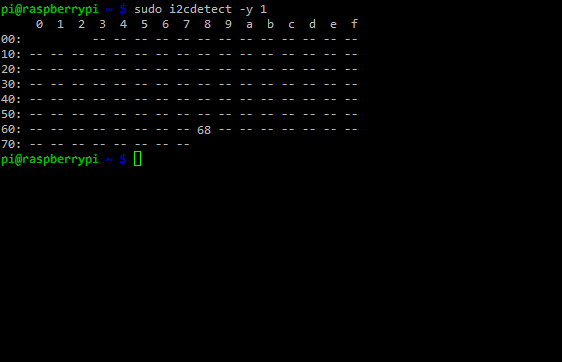
Turn on the Pi and verify that the board is seen by running sudo i2cdetect -y 1 at the command line. You should see ID #68 show up (the I2C address of the DS1307 Real Time Clock chip):
If you have an older Rev. 1 Pi, you will have to run sudo i2cdetect -y 0 as the I2C bus address changed from 0 to 1 from rev 2 onwards.
Setting the RTC Clock
The RTC module must be loaded by the kernel by running:
sudo modprobe rtc-ds1307
Now you need to be running as the super user; type in:
sudo bash
and then, if you have a Rev.2 Pi or later:
echo ds1307 0x68 > /sys/class/i2c-adapter/i2c-1/new_device
Or if you have the older Rev.1 Pi, use:
echo ds1307 0x68 > /sys/class/i2c-adapter/i2c-0/new_device
Type exit to stop being the 'root' user.
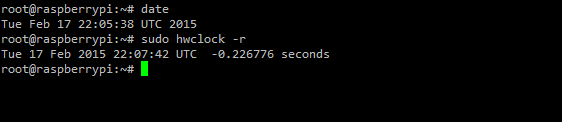
Check the time on the RTC device using:
sudo hwclock -r
If this is the first time the module has been used, it will report back Jan 1 2000, and you'll need to set the time to the current time.
The easiest way is to connect it up to Ethernet or Wifi. It will automatically set the time from the network. You can check the time using the date command:

Run sudo hwclock -w to write the system time to the RTC board.
You can then verify it with sudo hwclock -r:
So, now the RTC clock is set, is that it? Well, no. The next time you boot your Pi, it will not know that it needs to read the clock from the RTC, so if it is not connected to the internet it will again be showing the wrong time.
Making Your Pi Use the Real Time Clock
You will need to add the RTC kernel module to the file /etc/modules so it is loaded when the Pi boots. In a terminal window run sudo nano /etc/modules and add rtc-ds1307 at the end of the file:

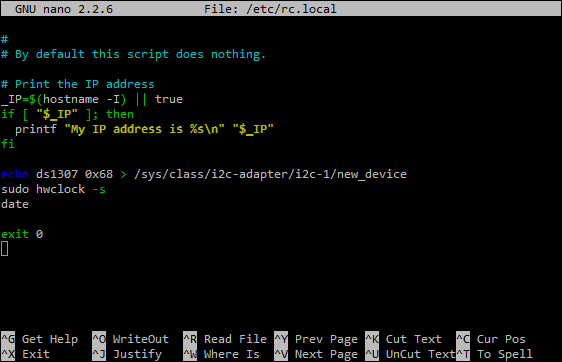
Next you will need to add the DS1307 device creation at boot by editing the /etc/rc.local file by running
sudo nano /etc/rc.local
and add the following lines to the file:
echo ds1307 0x68 > /sys/class/i2c-adapter/i2c-1/new_device
sudo hwclock -s
date
Just before the exit 0. Note: If you have a Rev 1 Pi, replace i2c-1 by i2c-0 above.
To save the file, press Ctrl+X, Y then return.
To test this out, shutdown your Pi, unplug any ethernet cable or wifi dongle and then turn the Pi back on. Use the following command in a terminal window to check the date is still set:
date
Now, the next time you reboot your Pi it will read the time from the Real Time Clock.